- Get link
- X
- Other Apps
Navigation Bar, Navigation Menus or Page Navigator is same thing, It is the most Important element of Your blog Design Because all of your Page views depends upon it, It creates all the Important links of Your Blog. When Start with a Basic Simple Blogger Template then there is likely a Navigation Bar or Menus, So you have to create one by your self, In this article I am going to share the easiest method of Adding the Navigation Bar below the Blog Title which Contain all of Important Categories and Links to your Blog. So Lets Start the Actual Work.

Step 1: Sign in to Your Blogger account and go to the Layout Tab and add a new HTML/Javascript gadget in the header area of the layout.
Paste the Following code in the New added HTML/Javascript gadget.
Note: You have to put the link of your Pages in the "LINK" value and give the title of page which will shows up on Navigation Bar in the "PAGE TITLE" . After doing this Save the it.
Now Your Navigation bar is created but you need to decorate it some how, Here is how you can postion and Decorate it.
Click inside the code area and Press CTRL+F and type “<b:skin>…</b:skin>” and hit Enter.
Add the following code here and Save The Template.
Add the code given below here and Save it.
#readynavbar { position: fixed; top: 0px; left: 0px; z-index: 999; width:100%;}
Congatulations Your Navigation Bar is Added if You Still have Some problems then dont be affaired to contact me.
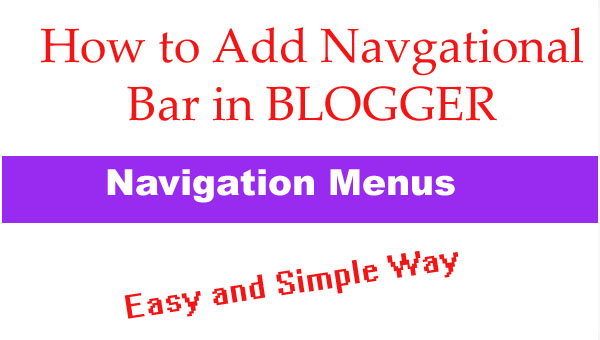
How to Add a Navigation Bar (Menus) in Blogger's Blog?
Step 1: Sign in to Your Blogger account and go to the Layout Tab and add a new HTML/Javascript gadget in the header area of the layout.
Paste the Following code in the New added HTML/Javascript gadget.
| <!-- begin navigation menu --> <div id="readynavbar"> <ul> <li><a title="home" href="LINK">Home</a></li> <li><a title="TITLE" href="LINK ">PAGE TITLE</a></li> <li><a title="TITLE" href="LINK">PAGE TITLE</a></li> <li><a title="TITLE" href="LINK">PAGE TITLE</a></li> <li><a title="TITLE" href="LINK">PAGE TITLE</a></li> </ul> </div> <!-- end navigation menu --> |
Note: You have to put the link of your Pages in the "LINK" value and give the title of page which will shows up on Navigation Bar in the "PAGE TITLE" . After doing this Save the it.
Now Your Navigation bar is created but you need to decorate it some how, Here is how you can postion and Decorate it.
Step 2: Decorating the Added NAVIGATION BAR:
Now you go to Template tab and Click on Edit HTML, (Note: Please Save a copy of your Current template before editing it).Click inside the code area and Press CTRL+F and type “<b:skin>…</b:skin>” and hit Enter.
Add the following code here and Save The Template.
| /* Spacing & Border of First Link in Navigation */ .tabs-inner .section:first-child ul { margin-top: 0px; border: 0 solid #eeeeee; } /* Background & Border of Navigation */ .tabs-inner .widget ul { background: #999999; border: 0px solid #eeeeee; text-align: center !important; } /* Font, Colour & Border of Links */ .tabs-inner .widget li a { font: normal normal 14px Arvo; color: #333333; border: 0px solid #ffffff; } /* Font & Colour of Rollover Links */ .tabs-inner .widget li.selected a, .tabs-inner .widget li a:hover { color: #eeeeee; background-color: #ffffff; text-decoration: none; } /* Centre Navigation */ .tabs .widget li, .tabs .widget li{ display: inline; float: none;} |
Step 3: Setting the Position of Navigation Bar:
Now go to Template >> Customize >> Advanced >> Add CSSAdd the code given below here and Save it.
#readynavbar { position: fixed; top: 0px; left: 0px; z-index: 999; width:100%;}
Congatulations Your Navigation Bar is Added if You Still have Some problems then dont be affaired to contact me.
Comments
Post a Comment